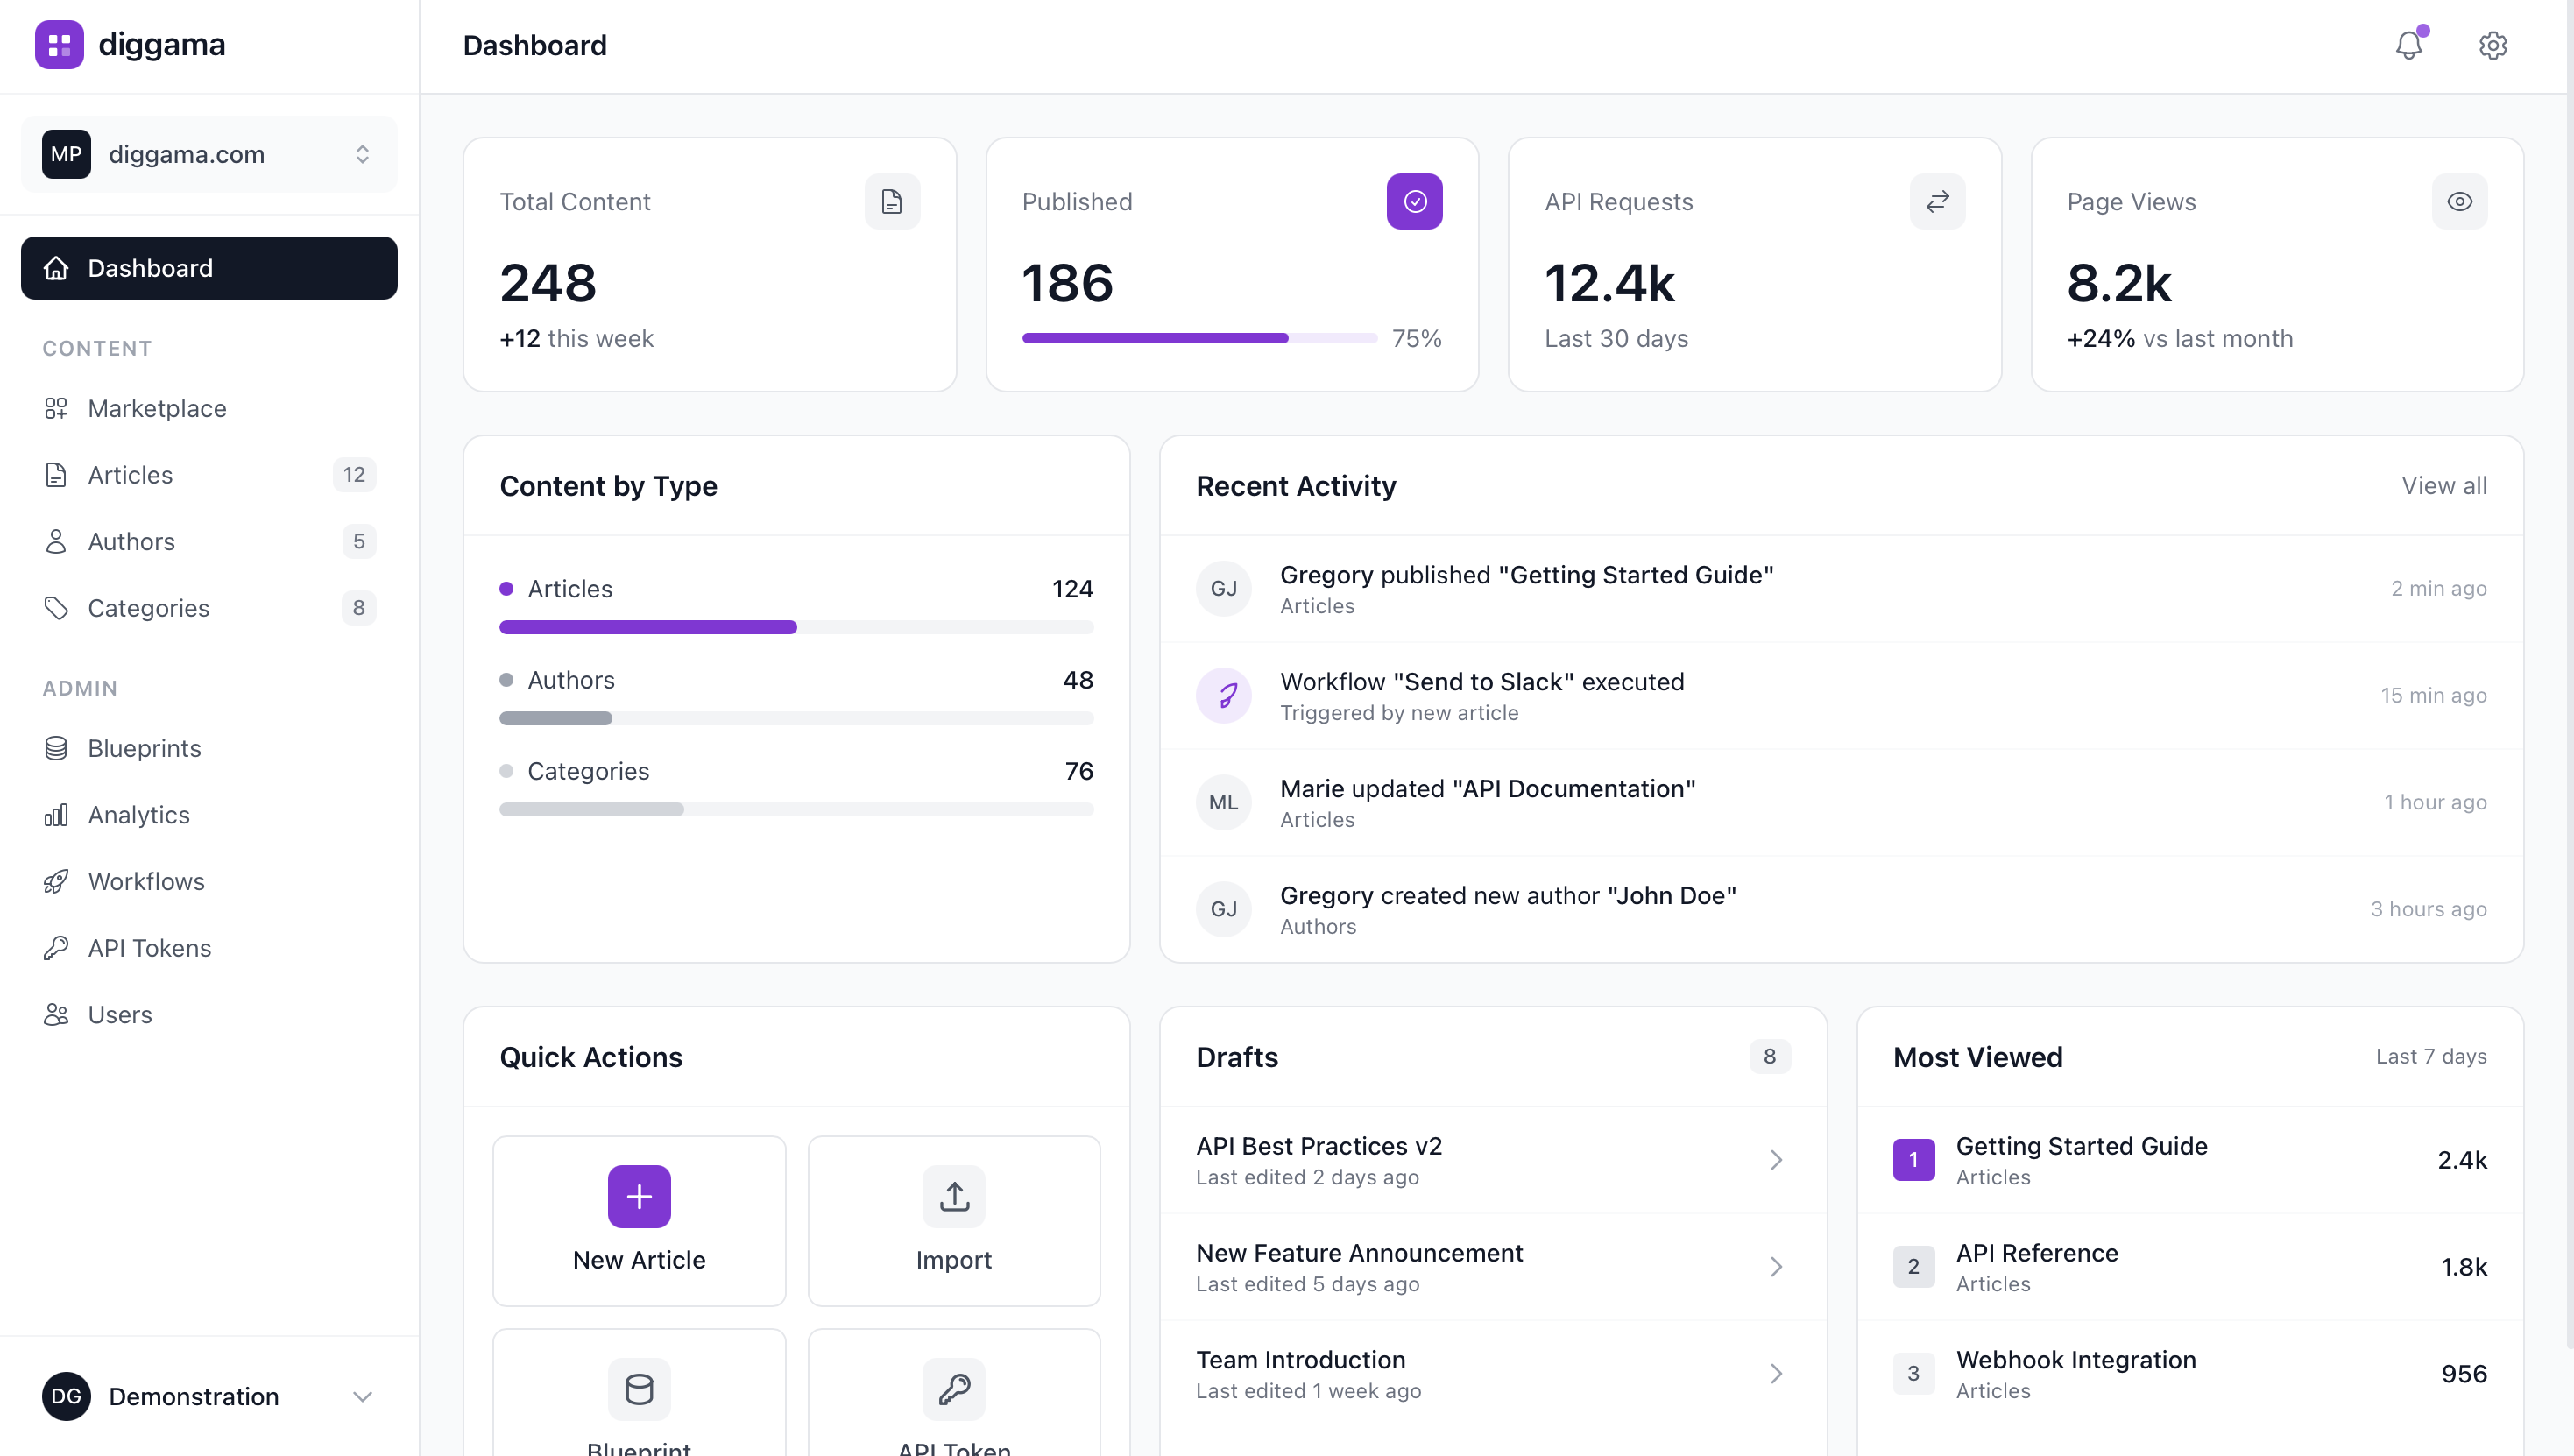
Define your content once, deliver it everywhere
Create custom content types with Blueprints, automate with Workflows, track with built-in Analytics.

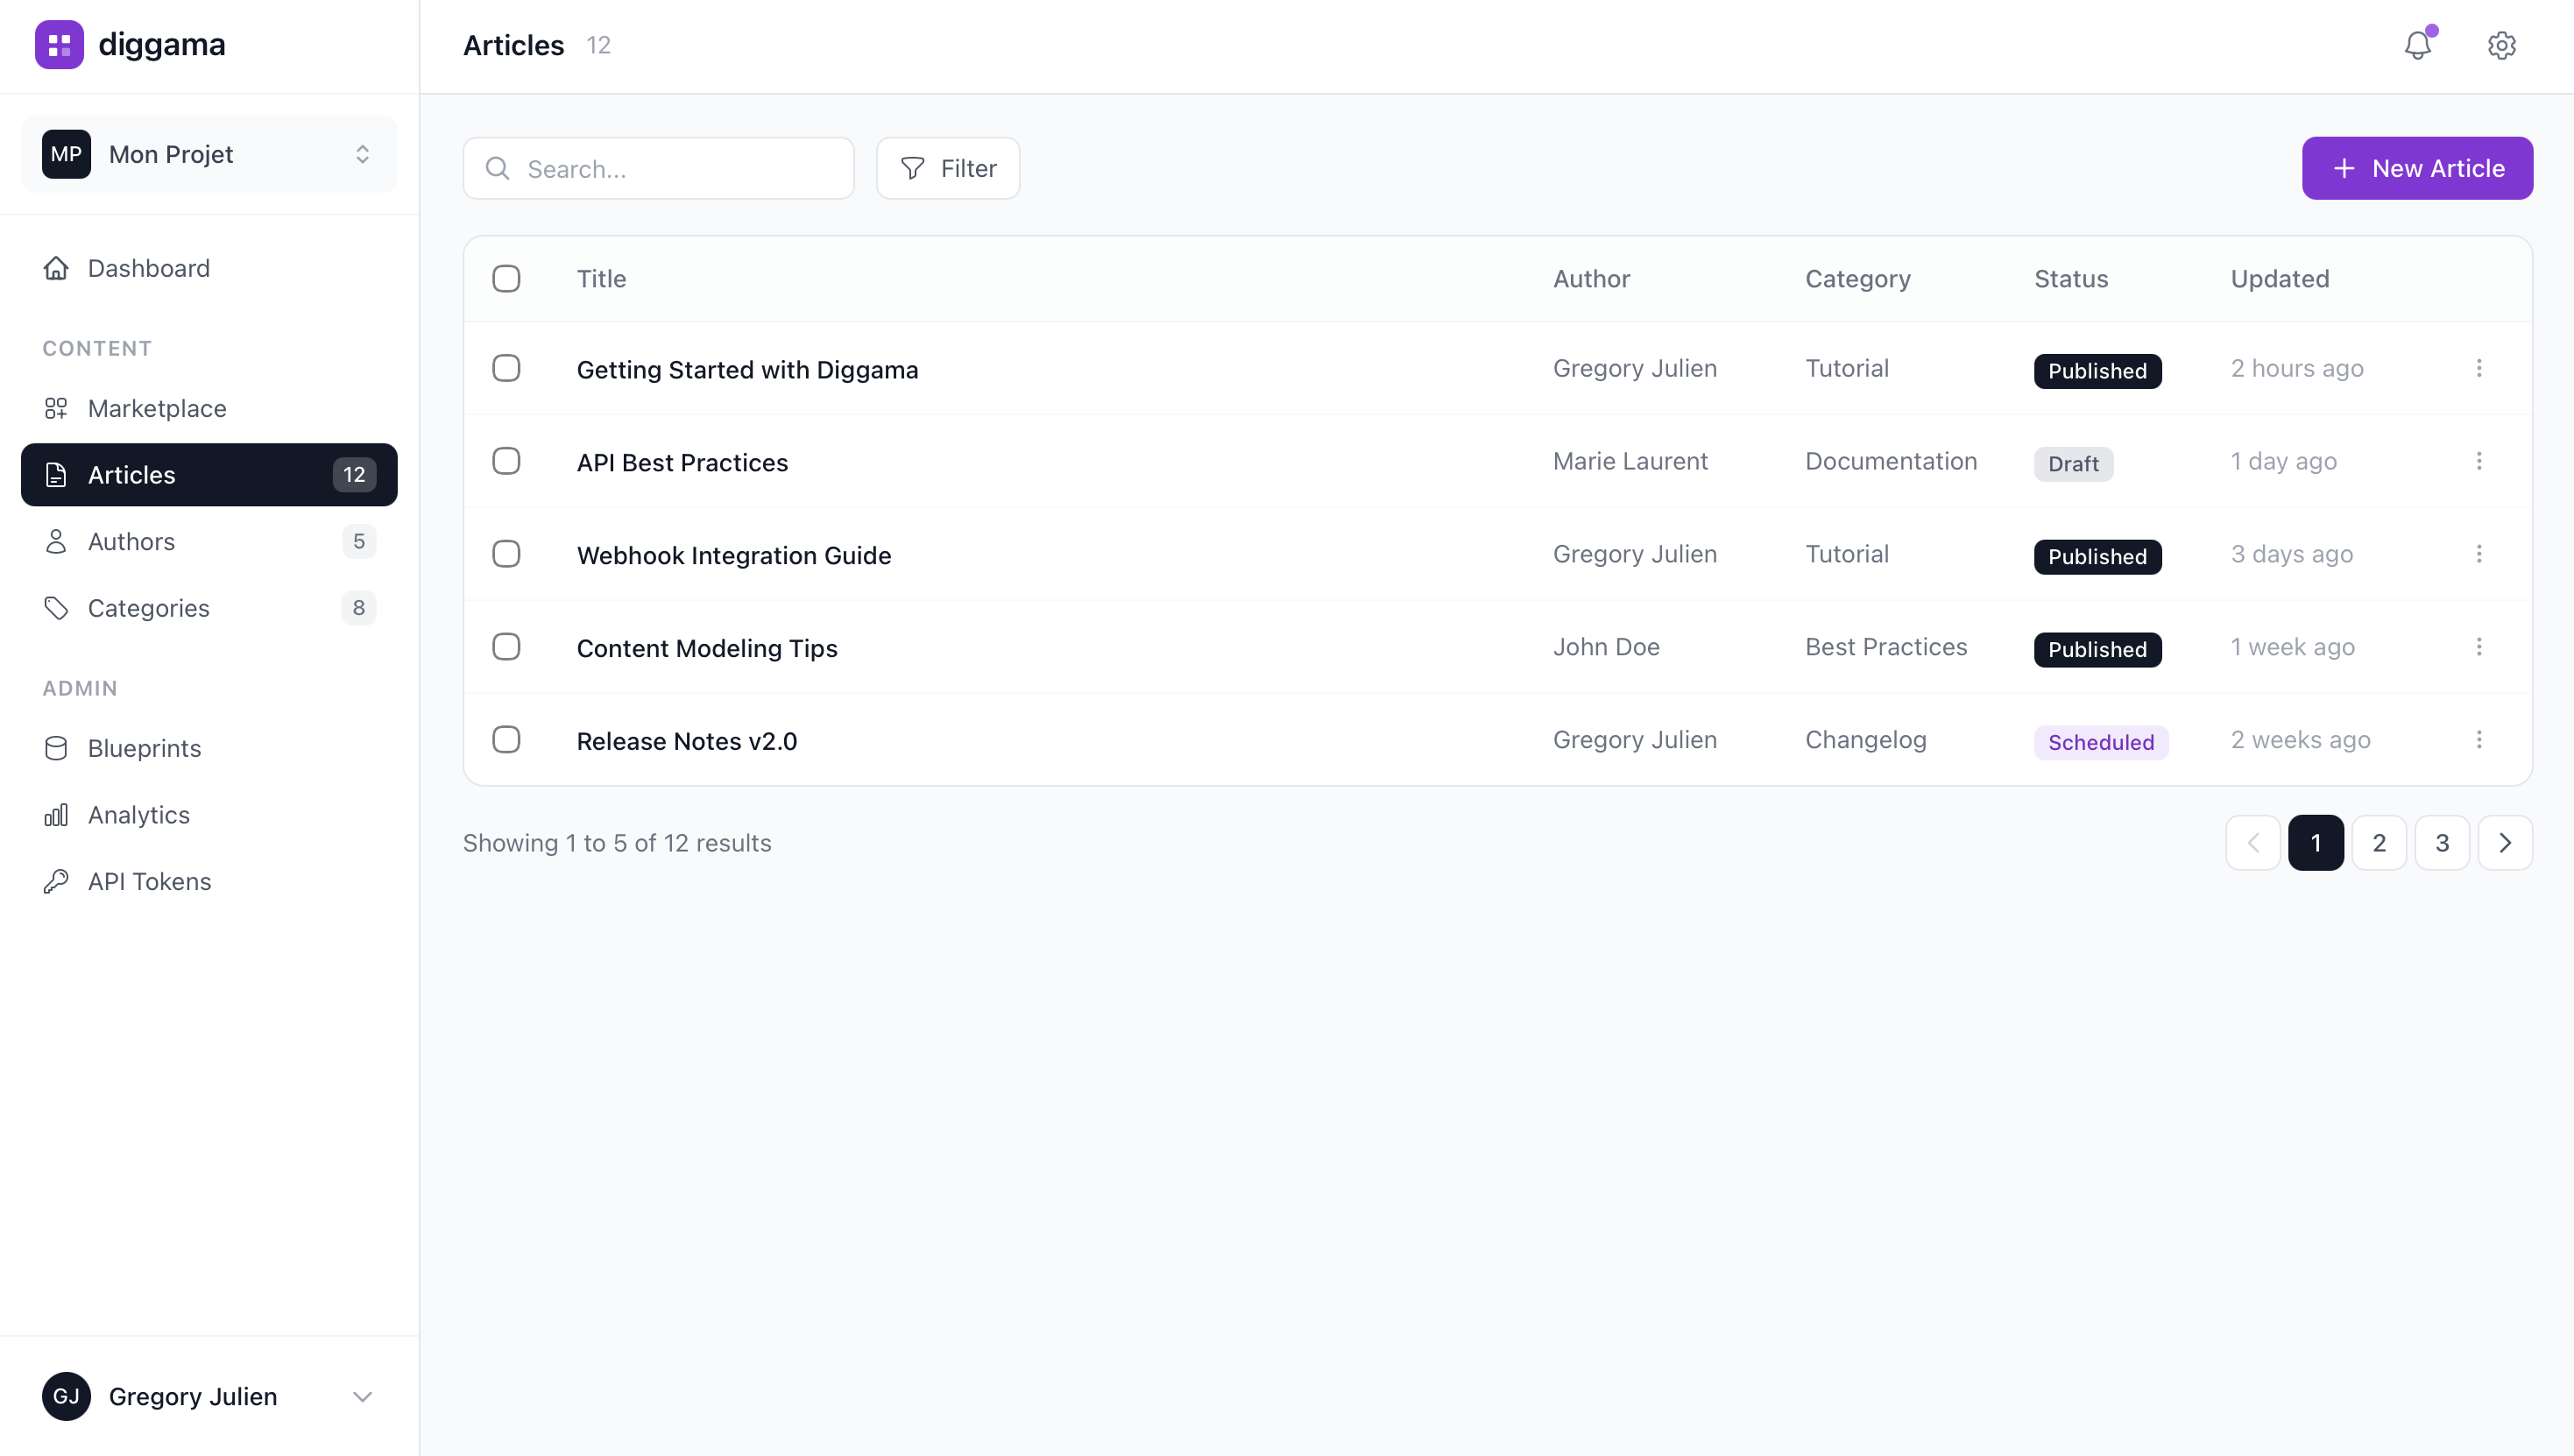
Browse and manage your content
View all your resources in a clean, organized list. Filter by status, search by title, and quickly access any content.
Find any content instantly with powerful search
Draft, Published, Scheduled statuses
Select multiple items, paginate through results
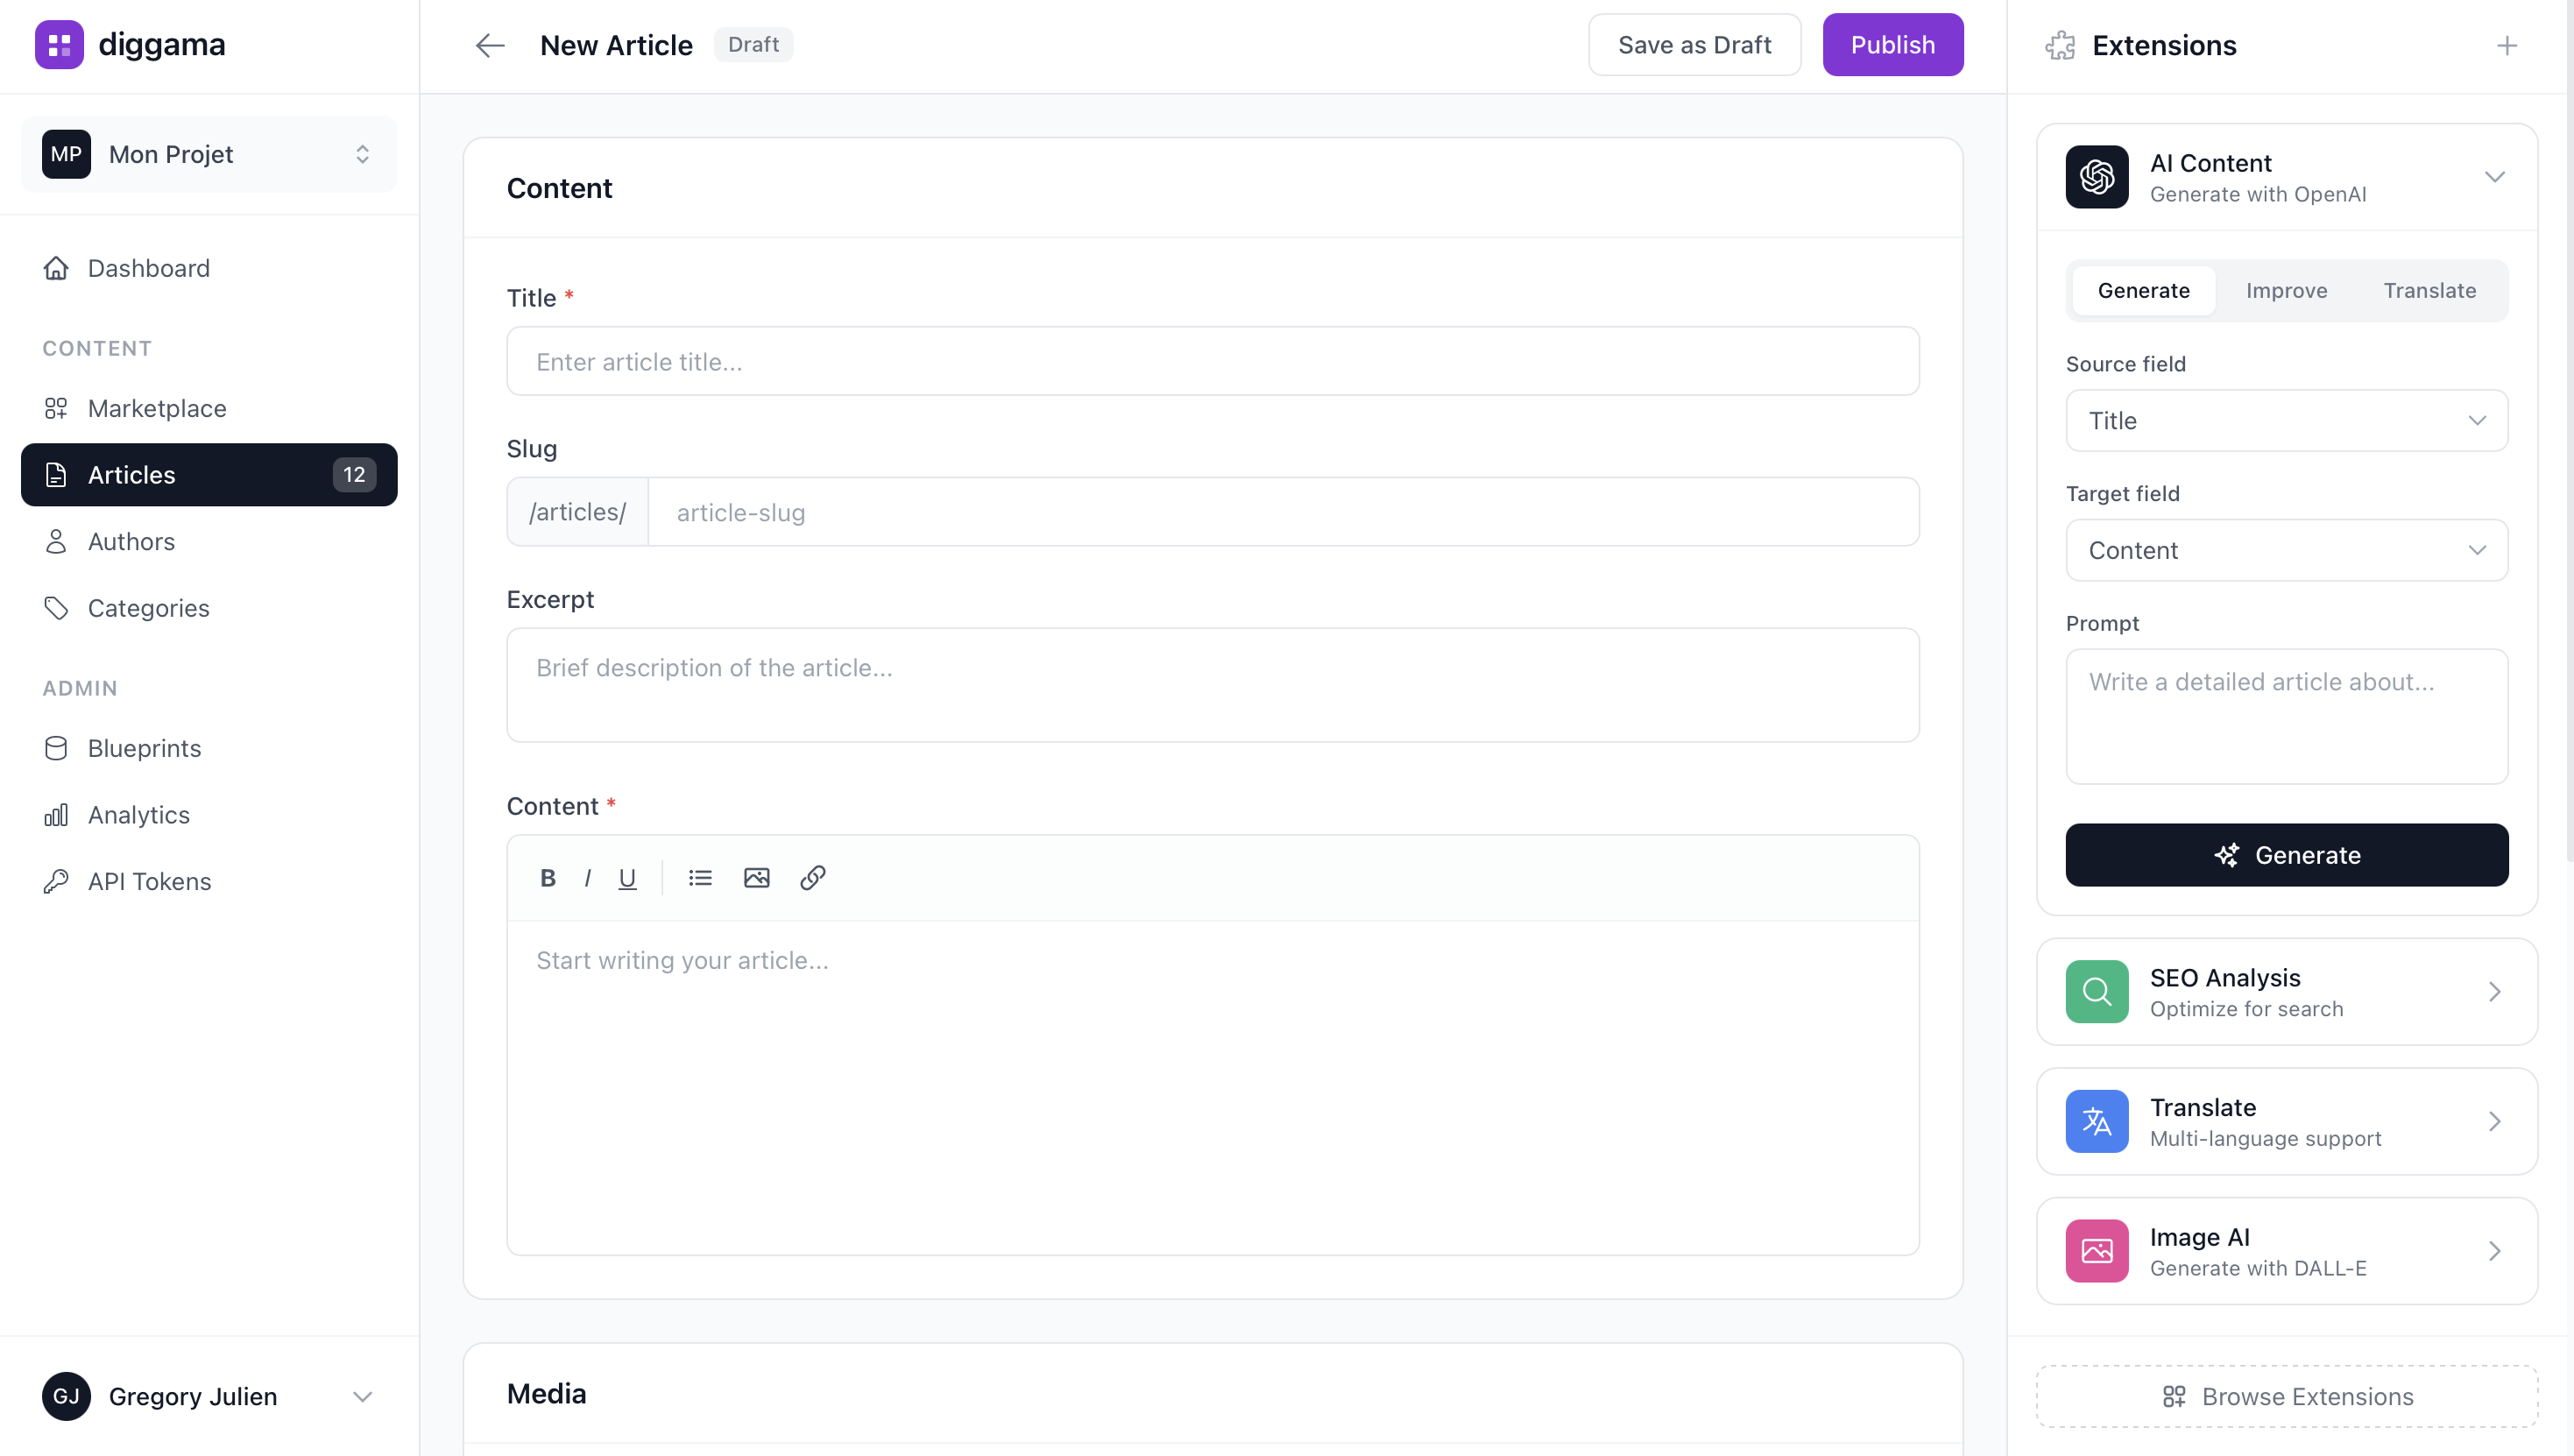
Create content with ease
Intuitive form builder powered by Filament. Each field type has its own optimized input component.
Full WYSIWYG with media support
Upload and auto-optimize images
Never lose your work, track all changes
From schema to API in minutes
Three simple steps to go from idea to production-ready content API.
Define Blueprints
Create content types with 12 field types. Set validation rules and variants for i18n.
Create Resources
Use Filament admin to create content. Schedule publishing, manage drafts.
Fetch via API
REST API with token auth. Filter by variant, granular permissions.
Three types for every use case
Choose the right blueprint type based on how your content is structured.
Resource
Collection of multiple entries. Perfect for blogs, products, or team members.
SingularResource
Single unique entry. Ideal for pages that exist only once in your app.
ReadOnlyResource
View-only for API. Data managed externally, exposed through your API.
12 field types to model any content
From simple text to complex references, we've got you covered.
Secure token-based authentication
Simple, predictable REST endpoints with granular permissions.
/v1/resources/:blueprint /v1/resources/:blueprint/:id /v1/resources/:blueprint Team roles per project
Fine-grained permissions for every team member.
Create, edit, and publish content
Manage blueprints, fields, and workflows
Invite users, manage API tokens, project settings
Workflows that react to content
Automate actions when content changes. Send emails, trigger webhooks, or connect to any external service.
ResourceCreated, ResourceUpdated, ResourceDeleted
Filter by event type, blueprint, or resource fields
SendEmail with templates, SendWebhook to any URL
Content variants for every locale
Create localized versions of your content. Each variant inherits the base structure while allowing unique translations.
Each content type can have its own locales
Request specific variants in your API calls
Falls back to default if translation missing
Track your audience, no third-party needed
Privacy-friendly analytics built right into Diggama. Understand your visitors without external scripts.
Pre-built blueprints
Start faster with ready-to-use content structures. Install in one click with sample data.
Blog
Articles with categories, tags, and author references. Perfect for content marketing.
Portfolio
Projects showcase with images, links, and descriptions. Great for agencies and freelancers.
FAQ
Questions and answers with categories. Reduce support load with self-service.
Simple, transparent pricing
Start free, scale when you need. No hidden fees.
Free
Perfect for side projects
- 5 Blueprints
- 1,000 Resources
- 2 Variants
- Basic Analytics
Pro
For growing projects
- 20 Blueprints
- 50,000 Resources
- Unlimited Variants
- Workflows
Enterprise
For large teams
- Unlimited everything
- Dedicated support
- SLA guarantee
- Custom integrations
Start building your content API today
Join developers who ship faster with Diggama. Set up your first blueprint in minutes, not hours.